Table of contents
Understanding the Basics of Braising Chuck
Braising is a time-honored cooking method that transforms tougher cuts of meat, like chuck roast, into melt-in-your-mouth delicacies. If you’ve ever wondered whether it’s possible to braise chuck for too long, understanding the fundamentals of this process is crucial. Let’s delve into what makes braising ideal for chuck and how misconceptions can lead to overcooking.
What Is Braising, and Why Is It Ideal for Chuck?
Braising is a combination cooking method that uses both dry and moist heat. First, the meat is seared at high heat to develop a flavorful crust, then slowly cooked in a liquid at a low temperature. This method is particularly suited for chuck roast because it contains ample connective tissue and fat that benefit from the slow cooking process.
Chuck roast, a cut from the shoulder of the cow, has a high collagen content. Collagen, when exposed to low and slow cooking, breaks down into gelatin, giving the meat its tender and moist texture. This is why braising works wonders for tough cuts—properly executed, it can turn even the most challenging meat into a feast.
Characteristics of Chuck Meat: Fat Content, Texture, and Flavor

Understanding the unique properties of chuck meat helps explain why it’s a top choice for braising:
- Fat Content: Chuck has a balanced fat-to-meat ratio, which adds richness and flavor during cooking. However, overcooking can render too much fat, leaving the meat greasy or dry.
- Texture: The connective tissue in chuck makes it tough when raw, but it tenderizes as collagen converts into gelatin during braising.
- Flavor: Chuck is known for its deep, beefy flavor, which is further enhanced through slow cooking with aromatic herbs, vegetables, and braising liquids like stock or wine.
If you’re exploring ways to master chuck roast, The Ultimate Guide to Braised Chuck Roast provides a detailed overview of choosing ingredients and techniques.
Why Chuck Benefits From Long, Slow Cooking
Low and slow cooking is essential for braising because it allows collagen to break down without rushing the process. Cooked too quickly or at high heat, the connective tissue won’t have enough time to dissolve, leaving the meat tough. Conversely, cooking for too long can cause the muscle fibers to lose moisture, making the texture stringy or dry.
The Science Behind Breaking Down Collagen
Collagen begins to break down at around 160°F (71°C) and continues to melt into gelatin as the meat cooks. This transformation peaks at temperatures between 200°F and 205°F (93°C–96°C). Cooking beyond this range can lead to over-braised chuck, where the meat starts to lose its structure and becomes overly mushy.
Common Misconceptions About Braising Chuck Meat
Misunderstandings about braising often lead to mistakes. Here are a few myths to avoid:
- Myth 1: More Time Always Equals Better Results: While longer cooking times help tenderize chuck, there is a limit. Overcooking results in a loss of flavor and texture.
- Myth 2: Any Liquid Will Do: The choice of braising liquid—whether it’s stock, wine, or beer—affects the final flavor. Stronger liquids may overpower the dish if not balanced.
- Myth 3: Braising Can Fix Everything: Braising won’t save low-quality or improperly prepped meat. Searing and seasoning are key to achieving the best results.
How to Perfectly Braise Chuck Roast

Mastering the art of braising chuck roast requires attention to detail, from selecting ingredients to setting the correct cooking temperature. With the right steps, you can achieve a roast that is tender, flavorful, and satisfying without the risk of overcooking. Here’s a detailed guide to braising chuck to perfection.
Choosing the Right Ingredients for Braising
The ingredients you choose set the foundation for a successful braise. While the method itself is simple, the flavors you infuse into the dish make all the difference.
Best Liquids for Braising
The liquid used in braising not only tenderizes the meat but also imbues it with flavor. Options include:
- Beef Broth: A classic choice for a deep, beefy taste.
- Red Wine: Adds richness and acidity, enhancing the natural flavor of the chuck.
- Beer: Perfect for a slightly bitter and malty note.
- Tomato-Based Liquids: Add sweetness and tang to balance the richness of the meat.
A mix of liquids, such as broth with a splash of wine, often produces the best results.
Herbs and Vegetables to Enhance the Flavor
Aromatic vegetables like onions, carrots, and celery are staples in braising. Pair these with herbs like thyme, rosemary, and bay leaves to create a savory, well-rounded flavor profile. For a detailed breakdown of ingredient options, check out The Ultimate Guide to Braised Chuck Roast for expert tips.
Step-by-Step Guide to Braising Chuck
Braising requires patience and precision. Follow these steps to ensure success:
Prepping the Meat: Seasoning and Searing
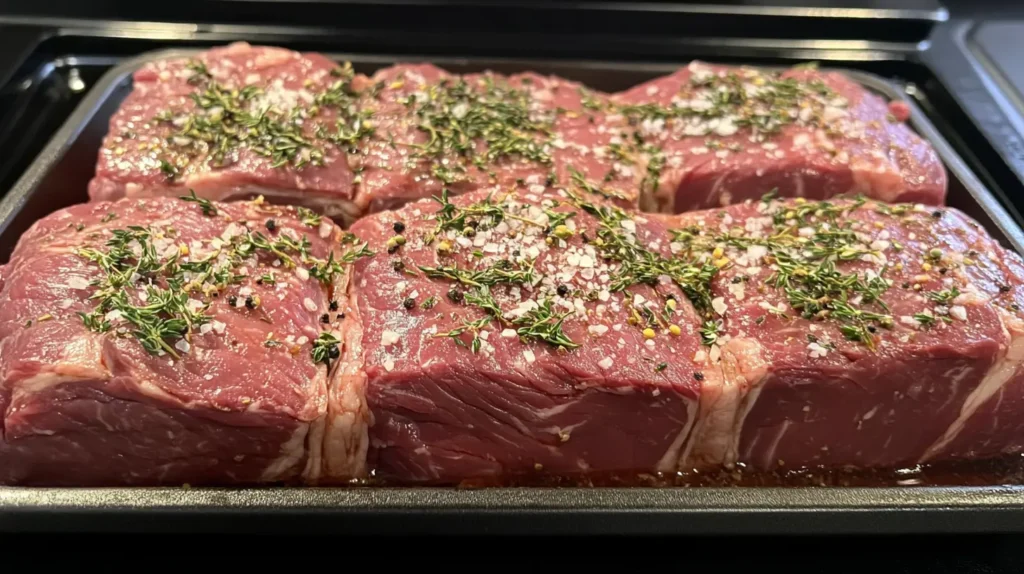
- Season Generously: Before cooking, coat the chuck roast with salt, pepper, and any desired dry spices.
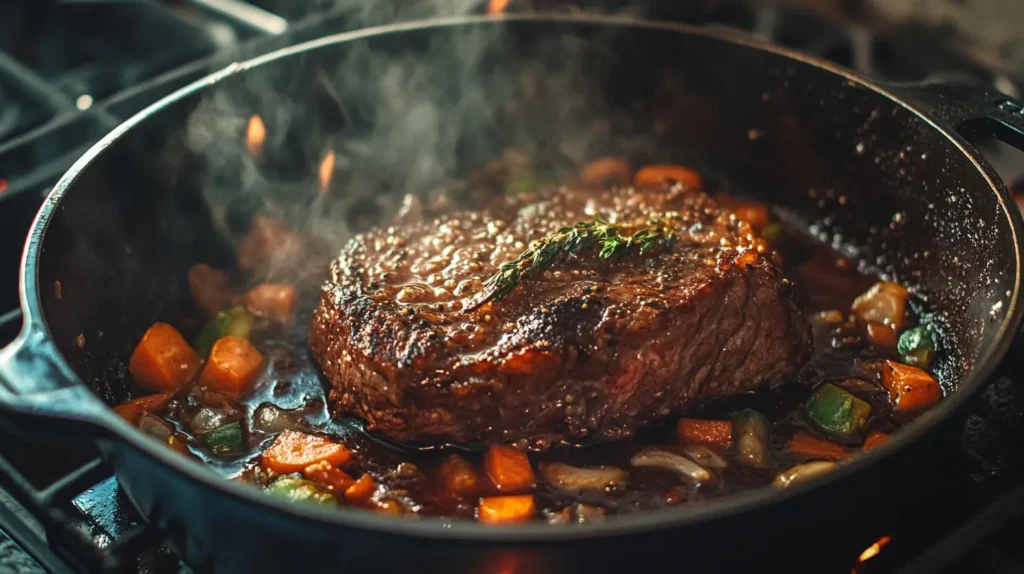
- Sear the Meat: Heat oil in a heavy-bottomed pot or Dutch oven and sear the meat on all sides until a crust forms. This step locks in flavor and creates a rich base for the braising liquid.
Setting the Perfect Temperature and Cooking Time
- Add Aromatics and Liquid: After searing, remove the meat and sauté aromatics in the same pot. Deglaze with your chosen liquid, scraping up any browned bits from the bottom for added flavor.
- Cook Low and Slow: Return the meat to the pot, ensuring it’s partially submerged in liquid. Cover tightly and braise in the oven or on the stovetop at 275°F to 325°F (135°C to 163°C). The cooking time typically ranges from 2.5 to 4 hours, depending on the size of the roast.
Avoiding Overcooking: When Braising Goes Wrong
Overcooking is a common concern with braising, as even the most tender meat can become mushy or dry when cooked too long. Here’s how to avoid it:
Signs of Over-Braising
- Texture Changes: If the meat becomes overly soft and falls apart completely, it’s likely overcooked.
- Flavor Loss: Extended cooking times can dilute the flavors of the braising liquid and aromatics.
Tips to Prevent Overcooking
- Check Early and Often: Begin testing the meat for tenderness around the 2-hour mark. A fork should easily slide into the meat but still provide some resistance.
- Adjust Liquids as Needed: Ensure there’s enough liquid to maintain a moist cooking environment but avoid fully submerging the meat.
For more insights on braising techniques, visit the Boneless Beef Short Ribs Recipe, which provides additional guidance applicable to other cuts of meat.
Signs You’ve Braised Chuck Too Long
Even with careful preparation, braising chuck roast can sometimes go awry if the cooking time exceeds the optimal limit. Understanding the signs of over-braising and learning how to salvage the dish can save your efforts and ensure you still serve a delicious meal. Let’s dive into the indicators of overcooking and explore ways to make the most of your braised chuck.
What Happens When Chuck Is Over-Braised?
While chuck roast thrives under long cooking times, there is a point where the benefits of slow cooking diminish, leaving you with a dish that’s less than ideal.
Dry, Stringy Texture: A Common Pitfall
Overcooking chuck roast can lead to:
- Dryness: Excessive cooking causes the meat’s muscle fibers to contract, squeezing out moisture.
- Stringiness: As the connective tissue breaks down too much, the meat loses its structure, resulting in an overly shredded texture.
Loss of Flavor Intensity Over Extended Cooking
Braising relies on a balance of liquid absorption and meat tenderness. Over time, prolonged cooking can dilute the flavors in the meat and liquid, leaving both bland. This issue is particularly noticeable when using delicate herbs or mild broths.
Comparing Properly Braised vs. Over-Braised Chuck

The best way to avoid over-braising is to recognize the differences between perfectly cooked and overcooked chuck roast.
Visual and Textural Differences
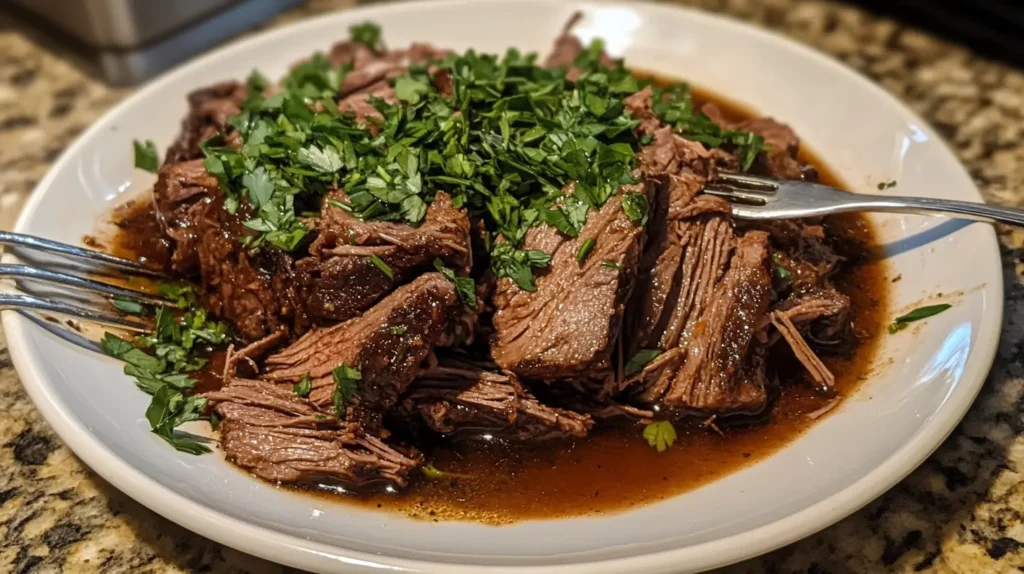
- Properly Braised: The meat holds its shape but is tender enough to pull apart with a fork. The texture should feel moist and silky.
- Over-Braised: The meat falls apart too easily, crumbling into unappetizing shreds. It may also look overly pale due to extended cooking in liquid.
How Timing Affects Overall Taste
Proper timing allows flavors to meld harmoniously. Over-braising, however, breaks down aromatics and seasoning to the point where their distinctiveness is lost. To maintain balance, avoid cooking beyond 4 hours unless absolutely necessary.
For additional techniques on how braising times impact different cuts of beef, check out Boneless Beef Short Ribs Recipe for comparisons.
Salvaging Over-Braised Chuck: Practical Tips
If you’ve over-braised your chuck roast, don’t worry—it’s not a lost cause. Here are practical steps to save the dish:
Incorporate It Into Other Dishes
Over-braised chuck can still shine as an ingredient in other recipes:
- Shredded Beef Tacos: Season the meat with fresh spices and serve it as a taco filling.
- Hearty Soups or Stews: Add the shredded beef to a soup base with fresh vegetables and herbs to revitalize the flavors.
- Beef Pot Pie: Use the meat as a filling, combining it with a flavorful gravy and topping it with pastry.
Enhance Flavors With Fresh Ingredients
To counteract diluted flavors, stir in bold ingredients toward the end of cooking:
- Fresh herbs like parsley or thyme.
- A splash of acid, such as lemon juice or vinegar, to brighten the dish.
- Rich sauces like barbecue or mustard-based glazes for added depth.
Rehydrate Dry Meat
If the meat has become dry, shred it and toss it in some of the braising liquid or a rich sauce. Gently reheat over low heat to prevent further overcooking.
Key Takeaways
Recognizing the signs of over-braising and knowing how to salvage the dish ensures that your efforts don’t go to waste. While braising chuck roast is a forgiving method, keeping an eye on texture and flavor balance is essential. In the next section, we’ll answer common questions and share advanced tips to perfect your braising technique.
FAQs and Advanced Braising Tips
FAQs about Braising Chuck
To clear up common uncertainties about braising chuck, here are answers to questions frequently searched online:
How Long Should I Braise Chuck Roast?
The ideal braising time for chuck roast is 2.5 to 4 hours at a temperature between 275°F and 325°F (135°C to 163°C). This timeframe allows the connective tissues to break down without overcooking the meat. Larger cuts may require slightly more time, but always start checking for tenderness around the 2-hour mark.
Can You Fix Overcooked Braised Meat?
Yes, overcooked braised meat can often be salvaged. Shred the meat and incorporate it into soups, stews, or casseroles to give it new life. Adding fresh herbs, acid (like vinegar or lemon), and bold spices can restore some lost flavor.
What Is the Ideal Temperature for Braising?
A temperature range of 275°F to 325°F is ideal. Cooking below 275°F may prolong the process unnecessarily, while exceeding 325°F risks uneven cooking and dryness. Use a heavy-bottomed pot or Dutch oven to maintain steady heat.
What Liquids Work Best for Braising Chuck?
Liquids like beef broth, red wine, beer, or tomato-based mixtures are commonly used. These liquids enhance the flavor while helping to tenderize the meat. For variety, experiment with combinations of broth and wine or add soy sauce for umami depth.
For additional tips on ingredients and techniques, explore The Ultimate Guide to Braised Chuck Roast for inspiration.
Advanced Techniques for Braising Chuck
Once you’ve mastered the basics, try these advanced techniques to take your braising game to the next level:
Braising in a Dutch Oven vs. Slow Cooker
Both methods have their merits, but understanding their differences helps you choose the best tool for your dish:
- Dutch Oven: Provides excellent heat retention and allows for precise control of temperature. It’s ideal for oven-braising, ensuring even cooking.
- Slow Cooker: Convenient for hands-off cooking, but the lower temperatures may require extended cooking times. Be cautious of overcooking when using this method.
Incorporating International Flavors Into Braised Dishes
When it comes to enhancing your chuck roast, incorporating international flavors is a fantastic way to introduce variety and depth. Moreover, experimenting with different cuisines allows you to tailor the dish to your preferences.
French-Inspired: To begin with, use red wine, thyme, and pearl onions to craft a classic beef bourguignon twist. Not only do these ingredients elevate the flavor, but they also add sophistication to the dish. Furthermore, finishing with a touch of butter enhances the sauce’s richness.
Asian-Inspired: Next, add soy sauce, ginger, garlic, and a touch of brown sugar for a rich, umami-packed braise. Additionally, you could include star anise or sesame oil to deepen the flavor profile. As a result, you’ll create a dish that balances sweetness, saltiness, and complexity beautifully.
Mexican-Inspired: Alternatively, include cumin, chili powder, and tomatoes to create a flavorful base for shredded beef tacos or enchiladas. Then, finish with fresh cilantro and lime juice for a vibrant and zesty touch. Finally, don’t forget to pair it with warm tortillas or rice for a complete meal.
Using Braising Liquids Creatively
After cooking, don’t discard your braising liquid! Instead, strain and reduce it into a rich sauce to serve alongside the meat. In addition to making a luxurious sauce, the liquid can also be repurposed as a flavorful base for soups or stews. For instance, you can add fresh vegetables and pasta to transform it into a hearty meal. Alternatively, freeze it for future use in gravies or risottos.
Final Thoughts: Mastering Braised Chuck
In conclusion, braising chuck roast is a rewarding process that combines art and science. By first understanding the fundamentals, then recognizing the signs of overcooking, and finally experimenting with advanced techniques, you can consistently create a perfectly tender, flavorful dish.
For more ideas and tips on braising and beef recipes, check out related guides like Boneless Beef Short Ribs Recipe. Not only do these resources expand your cooking repertoire, but they also provide endless inspiration for your culinary adventures.
