In the mood for something sweet, smooth, and homemade? Have you ever wondered how to make creamed honey at home, in a simple way that requires no special tools? Such a creamy treat might just be your new favorite.
In This Post
Why You’ll Fall in Love with This Creamed Honey Magic 🍯
What Is Creamed Honey, Now?
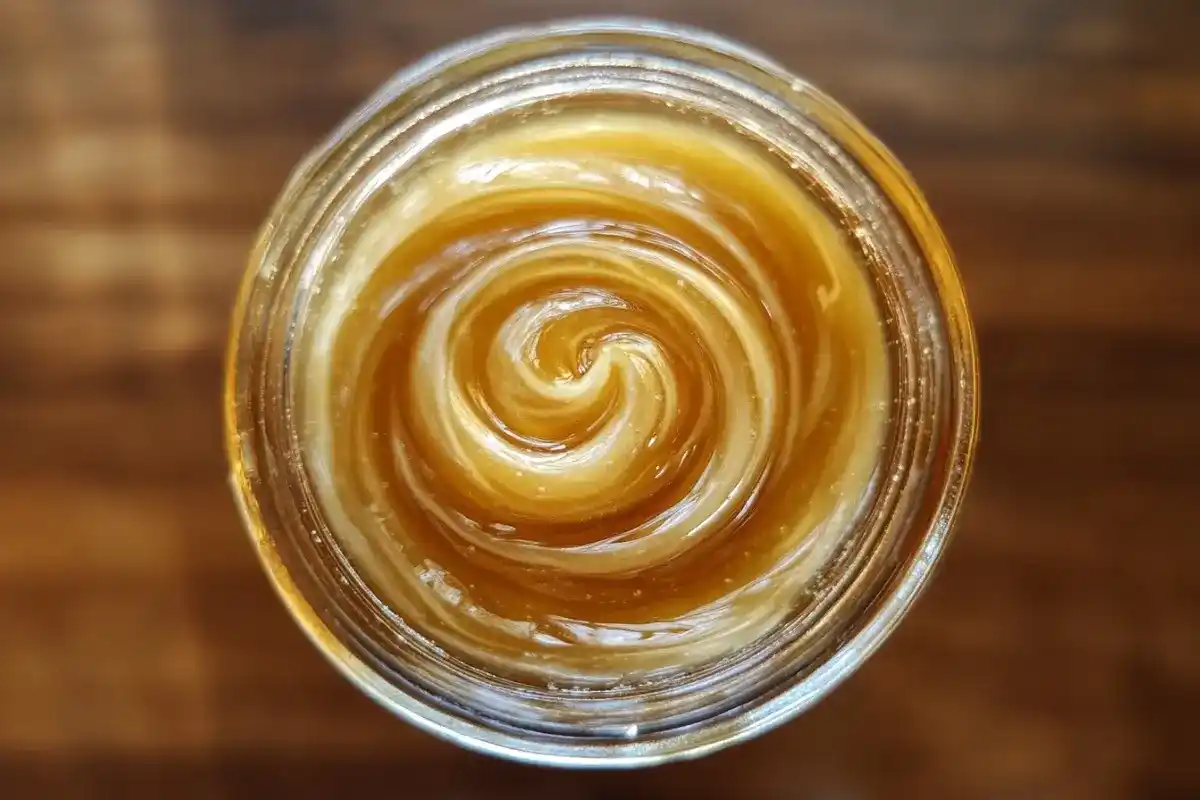
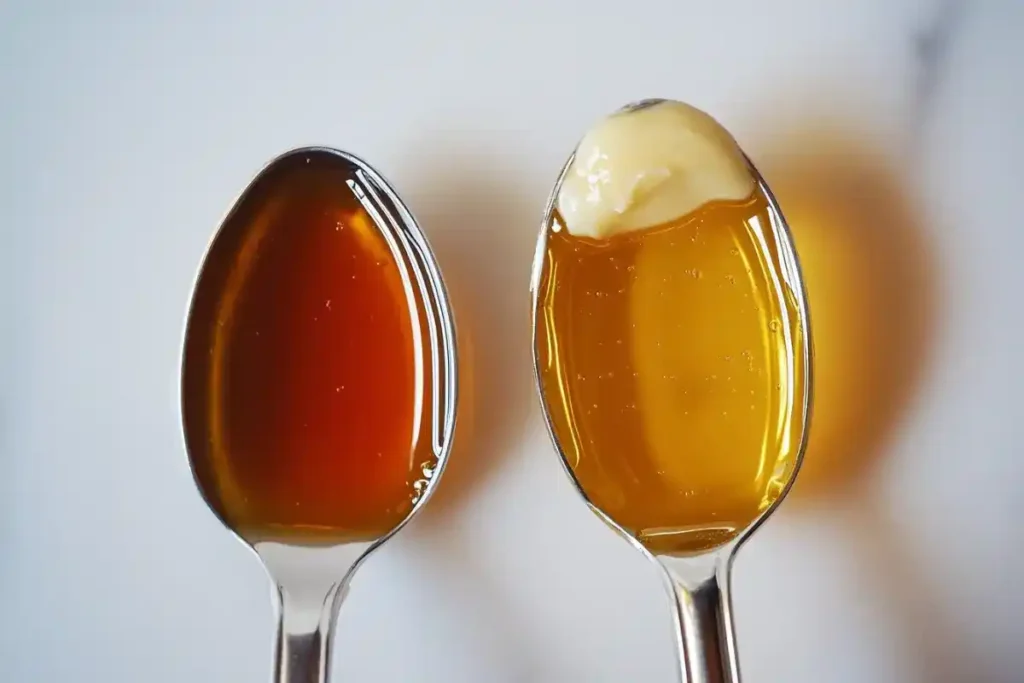
Let’s clear the air: creamed honey is not like sticky cousin of whipped cream. Considered smooth by-rocks and double fudge brownie are not an exact match. It is a honey that has been coaxed into a creamy, spreadable form. No dilution or fluff—just pure honey magic.
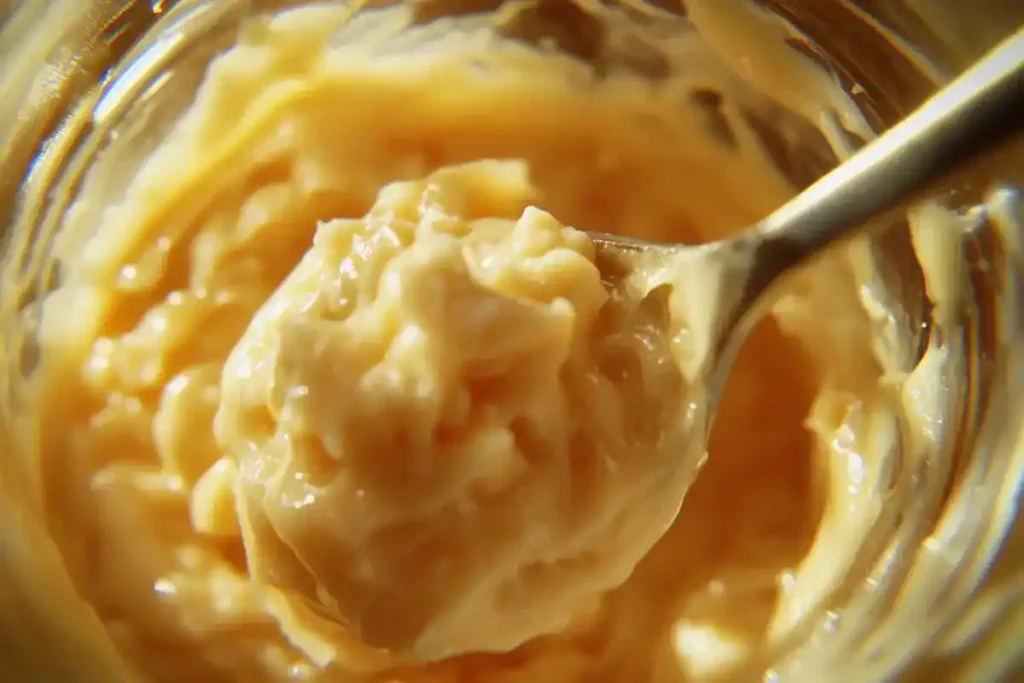
The process involves allowing the honey to crystallize under controllable conditions so that it remains soft, smooth, and easy to scoop. While the liquid honey is always on the run, its creamed counterpart behaves well. It kind of holds its shape, spreads on toast, and doesn’t leave shamefully sticky fingers behind. Rather useful in any kitchen.
And here is the science part-don’t worry, no goggles needed. Honey crystallizes naturally over time, but sometimes the crystals end up being large and gritty. By introducing seed honey—a tiny amount of already creamed honey—into liquid honey, we actually direct it to form very fine and smooth crystals. It’s like mentoring your honey into a better version.
The Sweet Fix for Busy Bees 🐝
If your morning is a chaotic dance of coffee cups, car keys, and half-eaten toast, creamed honey will invent itself as your best buddy. With two ingredients and a jar, go to the kitchen to make a batch that stays in the refrigerator for weeks. No baking, no boiling: just stir, store, and scoop as awfully needed.
I found this treasure on one of those weekends where the kids got hungry, groceries were low, and an urge for something sweet hit hard. A glance into my pantry-a jar of raw honey waved back at me. A day or two later, I had this creamy dream to coat everything on everything-bearing toast, or well, spoons.
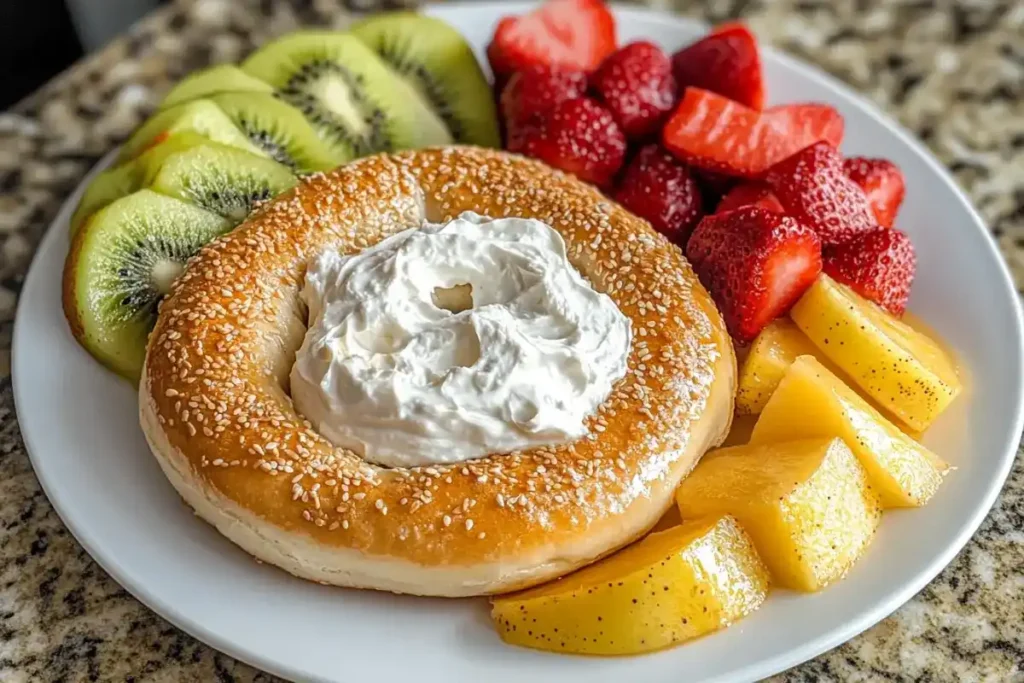
Bonus: it’s a bit of a chameleon. Want to plop it on a toasted bagel? Go ahead. Need to drizzle it quickly over warm biscuits or pancakes? Yes, please. It also gels well with peanut butter for a walk down memory lane.
Meet the Real Hero: Seed Honey
Seed honey is like the wise grandparent of the honey world. It has already undergone the transformation and knows exactly what to do to show the younger batch the ropes. They only need a tiny bit-about 10% actually of the whole mix-to set the creaming process into motion.
Seed honey (aka creamed honey or whipped honey) can be purchased at most grocery stores or farmer’s markets. However, if you realized this statement too late and have never made a batch on your own, just buy some for the trial. Make sure to save a bit of seed honey for the next time-you can think of this as honey sourdough starter.
Also, choosing your honey with care will pay off. Raw, unfiltered honey is what you want, if you can get it; it retains more natural enzymes and flavor. The richer the honey, the richer the flavor of your creamed counterpart.
Quick Tip 💡
- Use a clear glass jar so you can see the texture change over time.
- Label your jar with the date you start. Creamed honey takes about 5–7 days to reach its perfect form.
- If it looks a little cloudy at first, don’t panic. That’s a good sign!
But Why Make It Yourself?
Excellent question! Store-bought creamed honey is all too often more expensive, and you don’t always know what has been thrown in it. When you make your own, you control the ingredients and the flavor. You could spice things up with cinnamon, vanilla, or a splash of citrus zest, if you feel like it.
And, for the record, the making of creamed honey is fast self-care. Almost no effort given with an outcome that feels most luxurious. Surely who doesn’t need just a little more of that?
The Sweet Takeaway
Creamed honey is a game-changer for anyone who wants something comforting, convenient, and homemade. With nothing more than raw honey and a little patience, you can create a kitchen staple that makes mornings better, snacks tastier, and gifting more personal.
In the next part, I’ll show you the exact steps to make your first batch using a mason jar, a spoon, and your new honey wisdom. Spoiler: it’s easier than you think—and worth every golden drop.
How to Make Creamed Honey at Home 🍯
Ingredients and Kitchen Tools
Now that you know what creamed honey is and why it’s magical, let’s roll up our sleeves. Good news? You don’t need any fancy machines, candy thermometers, or bee whispering skills.
You’ll only need a few things, and there’s a good chance they’re already sitting in your pantry or kitchen cabinet. Here’s your no-fuss, no-stress prep list:
What You’ll Need 🛒
- 1 cup raw liquid honey (local if possible)
- 2 tablespoons seed honey (aka already creamed honey)
- 1 pint-sized mason jar with a lid
- Clean spoon for mixing
- Optional: flavorings like cinnamon, vanilla, or lemon zest
The Seed Method (Step-by-Step)
This tried-and-true method is simple, but don’t let its ease fool you—it’s wildly effective. The seed honey guides the crystal structure of the new batch, keeping it soft, fine, and dreamy.
| Step | Action |
|---|---|
| 1 | Spoon 1 cup of liquid honey into your clean mason jar. |
| 2 | Add 2 tablespoons of creamed honey (your seed) to the jar. |
| 3 | Stir gently but thoroughly. You want an even mix without air bubbles. |
| 4 | Screw the lid on and pop the jar in your fridge or a cool pantry (below 57°F). |
That’s it. Seriously. No cooking, no heating, no waiting for a sugar thermometer to beep. Just stir and chill.
Chill Time: The Magic Happens Slowly
This next part requires the hardest thing in any kitchen—patience. Your creamed honey will need at least 5 days to fully develop that silky, whipped texture. Some batches can take up to 10 days, especially if your kitchen runs warm.
While it chills, check it once a day. You’ll notice it getting cloudier and thicker as those tiny crystals form. That’s your golden sign it’s working.
Pro tip: Avoid stirring it again once it’s set. This keeps the texture smooth and prevents new crystals from forming unevenly.
Flavor Upgrades, If You Dare 🍋
Once you’ve nailed the basic creamed honey, why not jazz it up a little? Stir in ½ teaspoon of cinnamon or a dash of vanilla before chilling. Even better, add a touch of citrus zest for a bright twist.
These flavor twists are especially great if you’re planning to gift jars to friends or use them as breakfast stars. One of my personal favorites? Spreading lemon-zest creamed honey on mini croissants. It’s almost unfair how good that combo is. You can find easy ideas for flaky pastries in this mini croissant guide.
Small Batch or Big Batch?
Making a small jar lets you try out different flavor combinations. But if you’re already hooked, go ahead and double the recipe. Just keep the 10:1 ratio of liquid honey to seed honey. For example:
Batch Size Cheatsheet:
- 1 cup liquid honey + 2 tablespoons seed honey = 1 small jar
- 2 cups liquid honey + 4 tablespoons seed honey = 2 medium jars
- 4 cups liquid honey + ½ cup seed honey = enough to share or store
Does It Go Bad?
Nope! One of the best parts about creamed honey is that it lasts forever—or close to it. Honey is naturally antimicrobial, which means it keeps beautifully as long as you store it in a clean, sealed container.
No need to refrigerate after it’s fully set, but a cool pantry shelf works best. And if it starts to separate or get grainy over time, just scoop the top layer off or stir gently to revive it.
You’ve got the tools, the method, and the flavor options. Now you’re ready to create a homemade creamed honey that spreads like a dream and tastes like sweet success.
In the next part, we’ll dive into delicious ways to use your new kitchen treasure. From cozy breakfast spreads to snack-board stunners, you’ll want to try every one.
Unorthodox Uses of Creamed Honey 🍞🧈
Breakfast, Snacks, and Sweet-Tooth Moments
Let’s be honest-truly artists of rushing through breakfast. But on some basic toast, creamed honey maintains a golden glow. The silky smooth texture with mellow sweetness is a perfect early morning treat, especially on hectic weekdays.
Here are just a few of the honey-spreaded ways I love to eat when hunger is too loud:
Quick Morning Wins ☕
- Spread on warm toast or a fresh croissant
- Mix into oatmeal or cream of wheat
- Use as a topping for pancakes, waffles, or French toast
- A drizzle over Greek yogurt and granola for a no-cook breakfast
If you like mixing things up, try spreading creamed honey and nut butter on toast for a sweet-salty combo. Or layer it on peanut butter-banana sandwiches. It’s a win for both kids and adults.
For everyone who enjoys a fun breakfast spread, this cinnamon roll French toast recipe is just the other tantalizing and comforting way to bring sweetness to your table.
Honey + Cheese Equals Snack Heaven 🧀
Simply believe creamed honey is just for breakfast? Think again. This little pot adds glamour to your snack boards or party platters. The sweet-salty contrast is intoxicating when it gets together with cheese.
Pairings to Try:
- Brie + creamed honey + cracked pepper
- Goat cheese + citrus-zest creamed honey
- Sharp cheddar + plain creamed honey on crackers
Want to take it further? Try serving creamed honey with crusty bread and soft cheeses for a brunch board. Add some fruit, nuts, and maybe a little jam. Suddenly, you’re hosting a mini feast—and everyone thinks you spent hours planning it.
Non-DIY DIY Gifts 🎁
Sick of giving away socks, candles, or last-minute gift cards? A small jar of homemade creamed honey says thank you: thoughtful and personal, most importantly, it tastes good. Perfect for holidays, teacher days, housewarmings, or just because.
Spoon the honey into naked jars, label, and tie a ribbon around the lid. You can also flavor the honey yourself: cinnamon swirl, vanilla bean, or lemon ginger. It really is a minimal effort with such a huge impact.
Gifting Pro Tip: Pair your creamed honey with a bag of tea or some homemade cookies for an easy gift set.
Simply Grab and Go!
Creamed honey travels better than the runnier cousin. Without leaking or spilling with sticky messes in lunchboxes or bags, feel free to pack it for work-time snacks, school lunches, and a day’s out on the road. Great for an edible coating on crackers or apple slices.
Planning will involve creamed honey-brunch or picnics. Sconces, muffins, or even a butter board are worthy of this lovely accompaniment. This choice-loving subtle power raises every quality by miles without the stage demand.
The Banyan Tree for Dessert
Sweet tooth still calling after dinner? Donʼt worry—creamed honey has your back. Itʼs lovely spooned over vanilla ice cream, tucked inside of crepes, or swirled into whipped cream. You can even use it as a filling in thumbprint cookies or a drizzle on cheesecake.
One of my favorites is: warm a brownie just slightly, then top with a scoop of ice cream and give it a light drizzle of cinnamon creamed honey. Cozy, fancy, completely fun.
Here We Are: Recap of Drizzle Possibilities 🍯
| Use It For | Ideas |
|---|---|
| Breakfast | Toast, yogurt, oatmeal, waffles |
| Snacks | Crackers, apple slices, cheese boards |
| Dessert | Ice cream, brownies, cookies, crepes |
| Gifts | Jars with labels, tea sets, homemade kits |
You’ve put effort into the making of your creamed honey, so it deserves to have its time to shine. The spread is eager to join the breakfast table, star on your snack board, or sweet surprise in a gift basket.
Up next-I’ll answer your burning questions and share some more tips to keep your creamed honey silky smooth and satisfying every time.
Creamed Honey Tips, Tricks, and Frequently Asked Questions 🧁
Troubleshooting Your First Batch
So, you go along with all instructions—only everything still feels wrong. Don’t worry; even a master at home cooking has stumbled before. Let us work through the usual creamed honey problems.
Common Issues + Easy Fixes:
- Too runny? It probably might need a bit more time to set. Just pop it back into the fridge for a few more days.
- Grainy texture? The seed honey may not have been well blended. Next time, stir more while using gentle, slow strokes.
- Layered separation? Should you see clear honey sitting on the surface, gently stir it back and keep it cool.
Like baking and jam-making, small adjustments will grant you better results for the next time. The good news: your not-quite-perfect creamed honey will still taste fabulous.
Storing, Spreading, and Shelf Life
I mean, what else do you want? One great thing about homemade creamed honey is that it has high durability. Thanks to honey’s natural property of very low moisture content and high sugar concentration, it can resist spoilage almost more than anything else in your pantry.
Storage Tips 📦
- Keep the honey tightly sealed in a glass jar.
- Ideally, store it in a cool, dark pantry (under 60°F).
- Refrigeration is unnecessary once set, but it does not hurt.
- Always use a clean spoon to avoid contamination.
If stored well, your creamed honey can last for months, maybe even a whole year. Just make sure you keep it away from direct sunlight and heat sources.
Take it from the fridge some minutes before spreading for easy application. It’s your quickest soft-and-ready honey! Apart from that, another perk is that unlike regular honey, it doesn’t spread along with your plate or drip down your fingers. Sweet, right?
Most Asked Questions 🤔
You ask; we answer. The most searched questions on creamed honey—very basic ones—are addressed here.
Can I make creamed honey without seed honey?
Technically, yes—but it’s hit or miss. Without seed honey, your batch may form uneven or large crystals. For smooth, spreadable texture, the seed method is still your best bet.
What’s the difference between creamed honey and raw honey?
Raw honey is straight from the hive—liquid, unfiltered, and sometimes crystallized. Creamed honey is processed (gently) to form smooth crystals, giving it that whipped look and spoonable texture.
Is creamed honey healthier than regular honey?
They’re nutritionally the same—both pack natural sweetness, antioxidants, and antimicrobial benefits. The main difference is in texture and ease of use. Creamed honey spreads like butter and feels fancy, even when it’s homemade.
Can I flavor creamed honey?
Absolutely. You can add cinnamon, vanilla extract, orange zest, or even dried herbs for a savory spin. Stir them in before storing and chill as usual. Just avoid wet ingredients that might water it down.
One Last Spoonful of Sweet Advice
Making creamed honey is part kitchen craft, part cozy ritual. It’s simple enough to do with your kids on a Sunday afternoon, yet satisfying enough to impress your foodie friends. And once you get the hang of it, you’ll want a jar in your fridge at all times.
In fact, pairing it with baked goods only amplifies the joy. Try serving it with fresh mini croissants or warm biscuits. It turns an ordinary breakfast into a memorable moment.
Whether you’re spreading it on toast, adding it to cheese boards, or giving it as a handmade gift, your creamed honey journey is just beginning. And trust me—once you taste it, you’ll wonder how your kitchen ever survived without it.
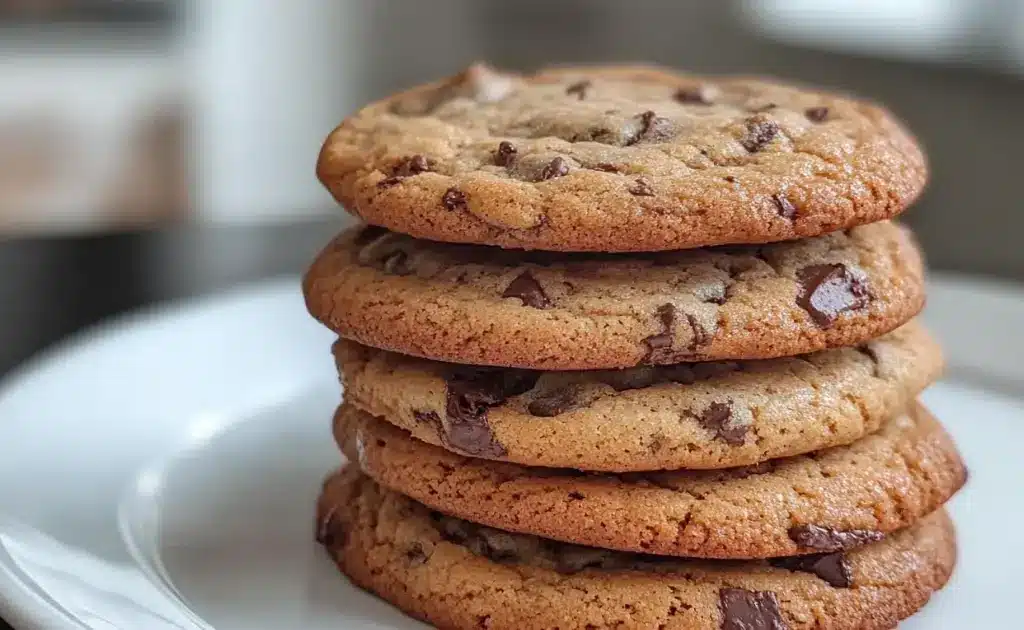
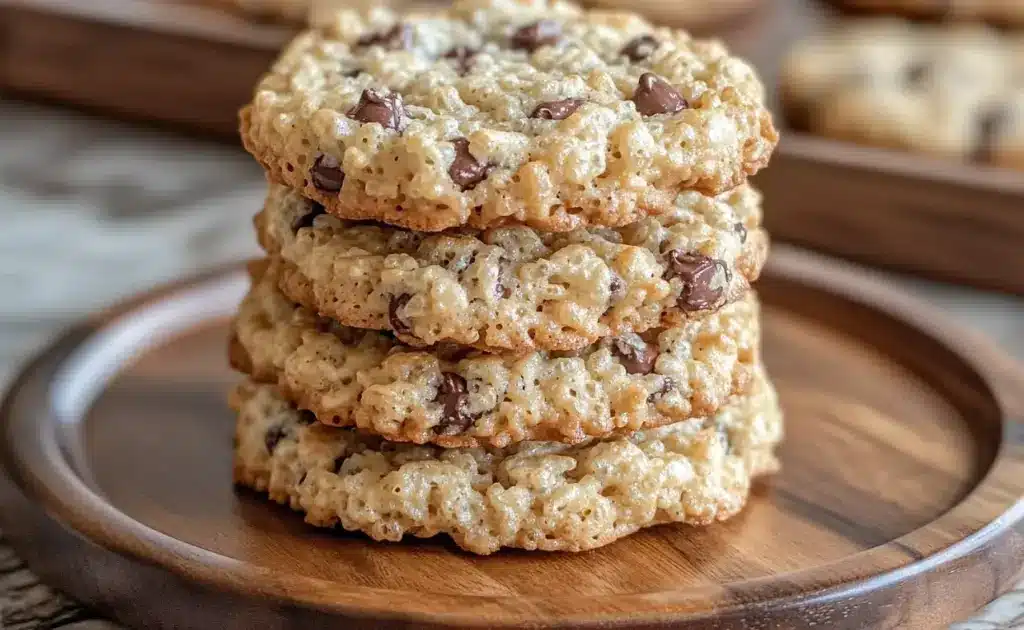
Ready to try more pantry-friendly recipes? Explore simple treats and baking ideas in our chocolate chip cookie recipe for another cozy kitchen win.
Print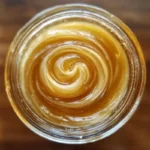
Creamed Honey Recipe
- Total Time: 5 minutes + 5–7 days resting
- Yield: creamed honey
Description
Creamy, dreamy, and super easy to make—this homemade creamed honey is a must-have for breakfast spreads, snacks, or gifting.
Ingredients
1 cup raw liquid honey (local if possible)
2 tablespoons creamed honey (seed honey)
Optional: ½ teaspoon cinnamon or vanilla extract for flavor
Instructions
- Spoon 1 cup of liquid honey into a clean, dry mason jar.
- Add 2 tablespoons of creamed honey to act as the seed.
- Stir gently but thoroughly until fully combined and smooth.
- Seal the jar and place it in a cool spot or refrigerator (below 57°F).
- Let sit undisturbed for 5–7 days to allow it to set and develop a creamy texture.
- Once ready, store at room temperature or in the fridge, and use as needed.
Notes
For best results, use raw, unfiltered honey.
Do not stir again after setting begins to keep the texture smooth.
Add flavors before chilling, not after.
- Cook Time: 5 minutes
- Category: Breakfast
- Method: No-cook
- Cuisine: American
Nutrition
- Serving Size: 1 tablespoon
- Calories: 60
- Sugar: 17 g
- Carbohydrates: 17 g
Keywords: creamed honey, whipped honey, smooth honey, honey butter spread